PATTERN:
First cut the pattern out. Enlarge the pattern below which includes the test square.
The pattern does not include seam allowance so add about 1.5cm to 2 cm of seam allowance EXCEPT for the neckline which should just be exactly the outline.
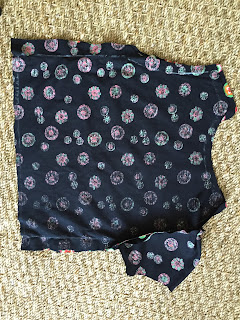
The skirt does not really require a pattern. It is just a rectangle folded first and cut. The folded edge is on the left side of this photo and the folded size is 29 inches (72cm) FOLDED x 13 inches (33cm) long including the seam allowance and hem allowance. For the width of 29 inches I basically used the entire width of the fabric as it came in 145cm or 60 inch roll. You can use whatever width you have but I prefer to minimize waste by using the maximum width.
 |
| Skirt pattern |
 |
| Bodice and Sleeve |
BODICE:
Next you should stitch the shoulder seams of the front and back, and the sides together. BTW the front pattern is same as the back except for the neckline so when cutting you need to follow the outline shown. The bodice should have the word FOLD where it says CL (centre line). Sorry about that. Cut one back and one front.
SLEEVES:
Gather the sleeves by hand or by machine as it is a small area to gather so it is no big deal either way. Piece together with the bodice, making sure the shoulder seam is in line or central with the centre of the gathered sleeve, as shown:
Attach the sleeve to the bodice, pinning first, then basting. This is what it looks like when one is attached:
Turn it around to check that the centre of the gather is in line with the shoulder seam:
Once the other sleeve is attached, neaten everything by trimming away excess seam allowance to make it all equal and narrower:
You don't have to do this now, but I am doing it as I like to hem as I am going along to avoid too much hemming all at the end. I mean that is just too dull to contemplate. Therefore I am hemming the sleeves now, folding twice, pinning, then machine stitching:
BTW I am making the sleeve hem very narrow so that it is neat when hemmed without any buckling or rippling. It is only quarter inch or 0.5cm wide, doubled, i.e. folded once at half inch or 1cm and then another time to halve it.NECKLINE:
I would make your own 1 inch or 2.5cm bias binding from the same fabric, pinning as you go along. Do not stretch the neckline too tight or you will get a frilly effect when the binding is basted on.
SKIRT:
Now to make the skirt, gather the whole top hem until it is the same width as the bodice, even it out as you are gathering to avoid a great big lump of gather and flat somewhere else. Once even, attach it to the the bodice using pins before basting using machine.
SKIRT HEM:
We are doing no stitching by hand except the skirt hemming. This is because I like the look of no visible stitching. All I did was zigzag the edge of the skirt by machine, then I turned it up just once for the hem. You can adjust the length to suit, the hem width I used was 2.5cm or an inch.
 |
| Do invisible hemming by hand. |
 |
| View of back |


No comments:
Post a Comment