


How many of you have seen abandoned, naked, unloved dolls in charity shops and school fairs lying there in heap? The reason: they have tangled, unkempt, clumped, rats’ nests for hair. It has been brushed, teased, combed, but all is useless. They are destined for the scrap heap or scouring pads for burnt on pans. Hair is really important in one’s appearance whether or not one is a doll and having messy hair will cause the owner of said hair to be unloved.
This is clear from the six abandoned and unloved naked leggy dolls of my daughter, either given by friends and family or found in charity shop. No more will this be the case. She with the rats’ nest will be loved.
Hair. The where of love.
Step 1: Strip ’em. (I know. It sounds like a Tarantino flick.)
Step 2: Mix one part fabric softener and two parts water in a large yogurt pot or small pail. Marinate the doll. Yes. Upside down.
Step 3: Two hours later. Remove from the marinade. Take a nylon bristle brush or wig brush or tangle-teaser brush. I used a baby’s fine tooth plastic comb with flexible teeth. Start teasing gently. Don’t be impatient. You need to do this undisturbed so best if the telly is on to keep the children occupied while you ‘work on it’, layer by layer, until all sadness and tangles are removed.
Step 4: Rinse until clean with cold water. Dry on the edge of a table or on your boiler or on a window. Comb and style as you would like it to dry because it will be in this shape from now. Do not use hairdryer. It is too hot and will melt the fibres. Remember, it’s fake damn hair. Nothing is real, but the love of your little girl for her doll!
Step 5: Style the hair to keep it neat. Re comb if necessary, braid or tie up. Done.
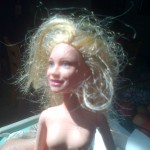
- BEFORE – STEP 1 Strip. This is one of the Olsen twins but I am not sure which one.
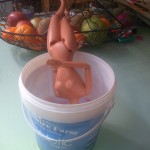
- Step 2 – marinate
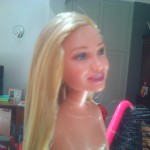
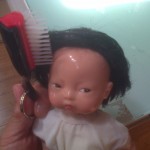
- Step 3 – comb using tangle teezer brush
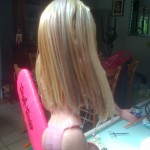
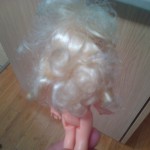
- AFTER – Step 4. Wow. This is Surfers’ Paradise or Malibu! I cannot believe this.
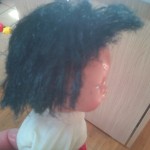
- BEFORE. On this kind of doll it didn’t work well

- DURING. I noticed the hair is still coarse but now not tangled.
- Neater. But still ratty. At least not tangled.
- BEFORE. This is a kind of toddler doll. It is very small, only 4 inches high.
- DURING. The combing is working extremely well. You can see the grooves made by the comb.

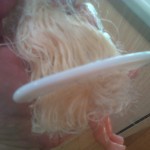
- AFTER. Worked well but curly hair will easily tangle again so keep an eye on it.
One thing to note is that the process will not work well on curly haired dolls because the curls will easily get messed up and tangled again. Also some dolls will not take to the process, for example the Chinese one with the short hair. The hair became very coarse and wiry and after treatment was a neater version but still retained coarseness and wiryness. Therefore in conclusion, the process works best on straight haired dolls of a known brand like Barbie (and in my case, the Olsen twins but I am not sure which one).
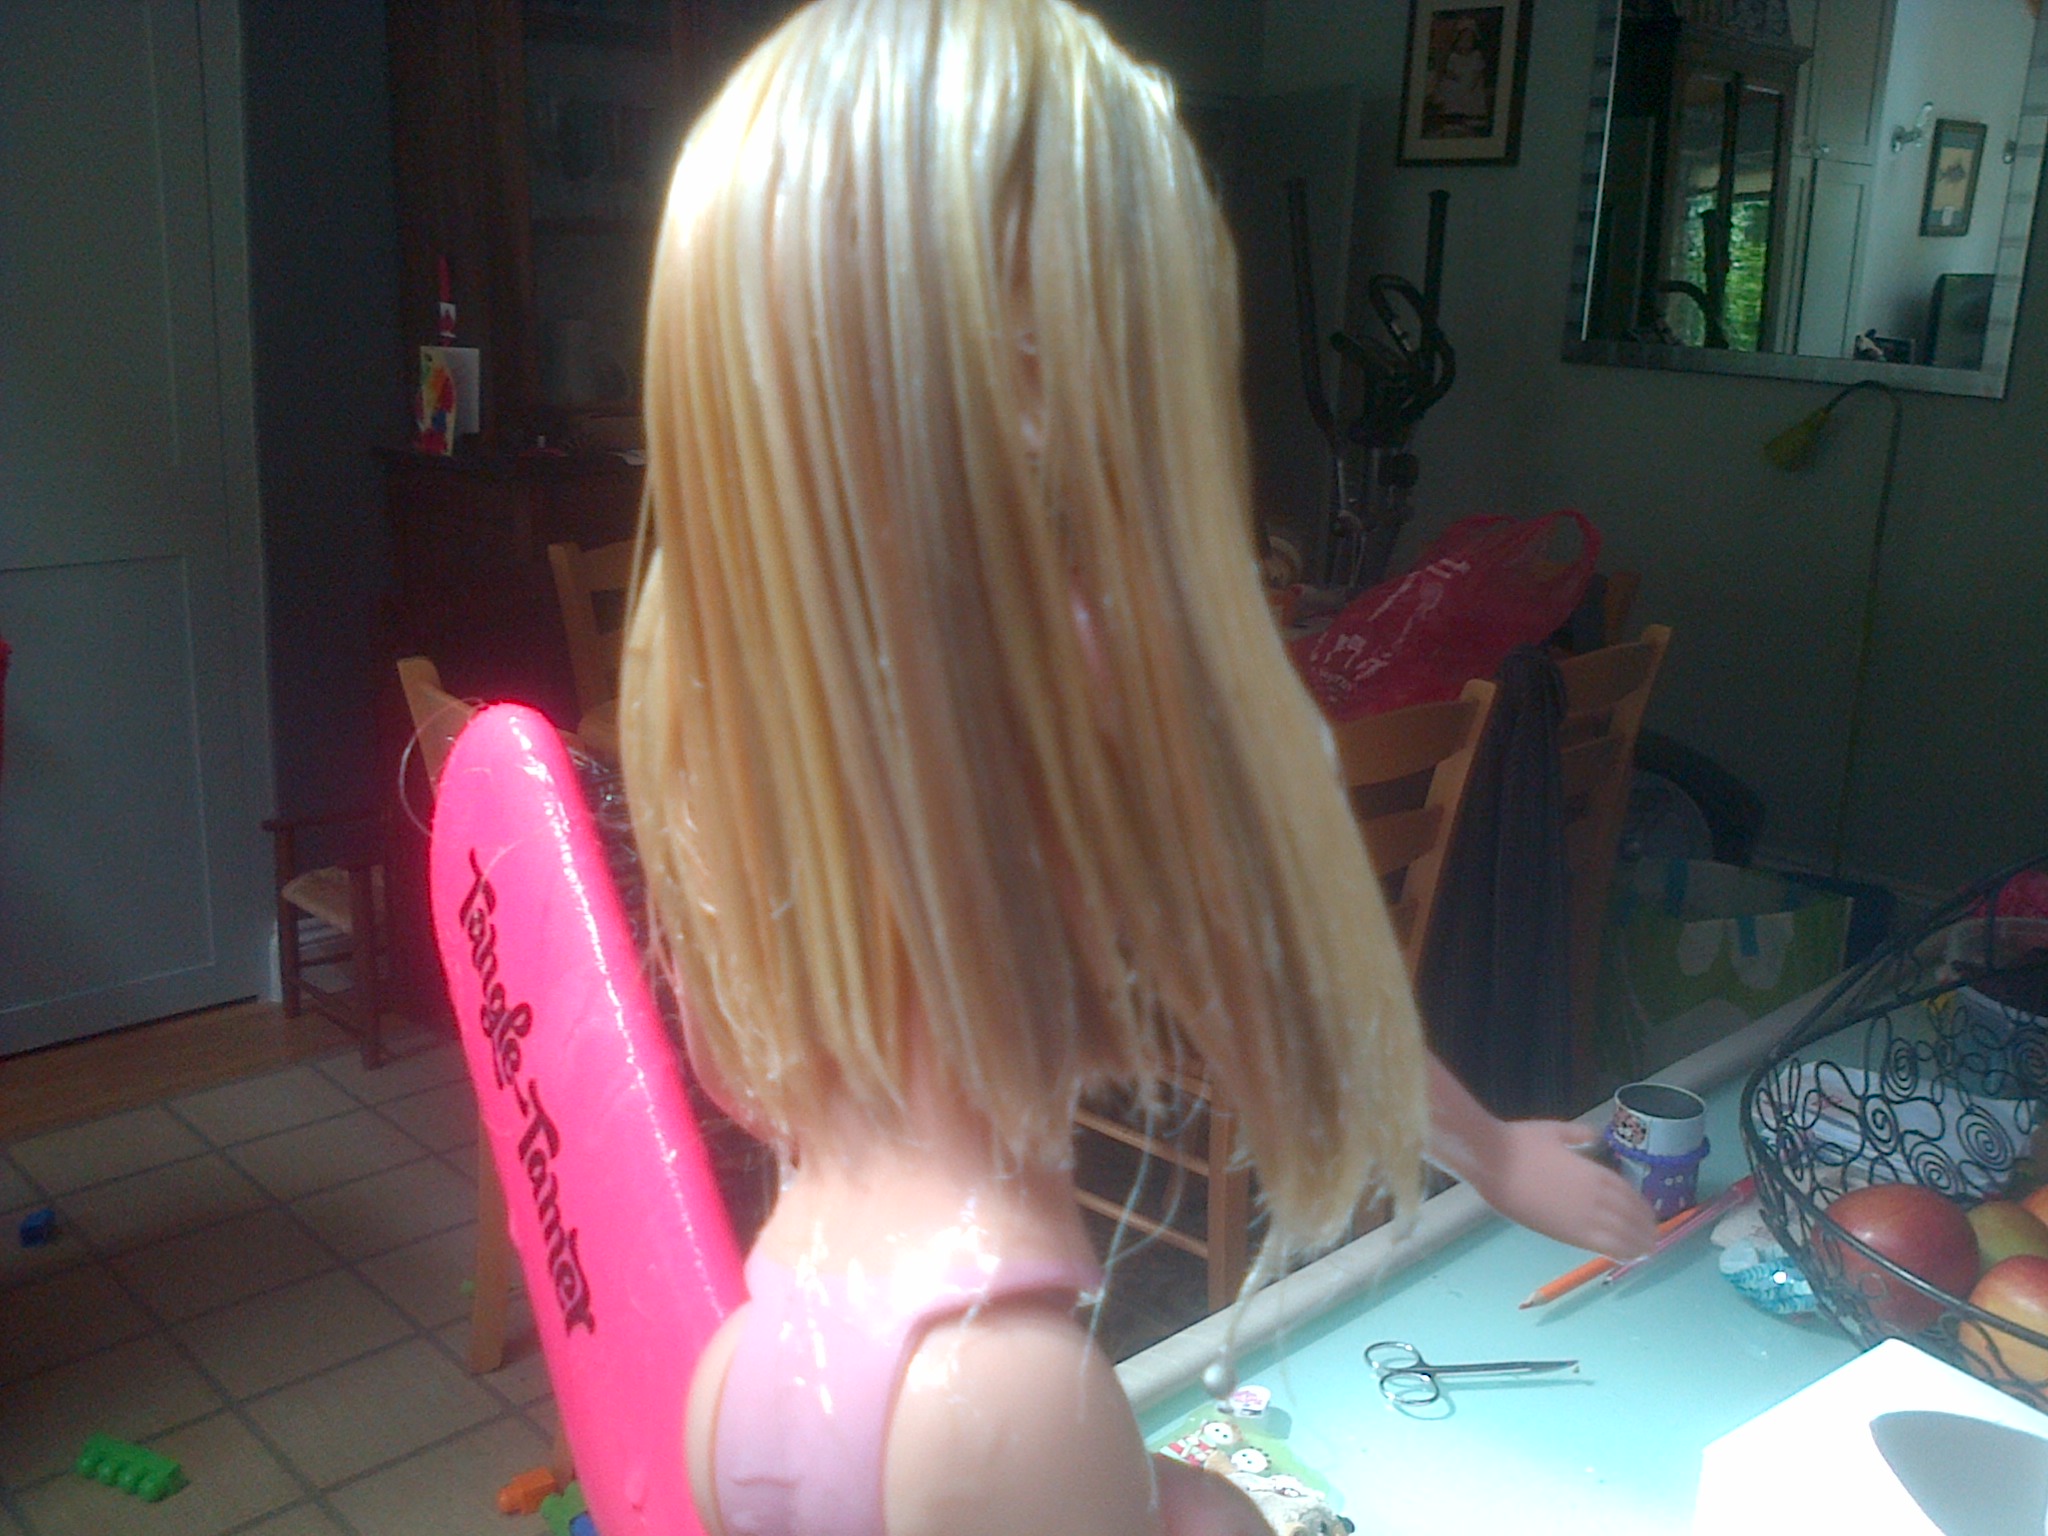
AFTER – Step 4. Wow. This is Surfers’ Paradise or Malibu! I cannot believe this. I am shouting for my daughter to come and see


